John and I have two greenhouses that we use during the spring and summer to extend our growing season. They’re each 8’ x 20’ and we built them both from kits.
The kits weren’t cheap so, to justify their cost, we’d hoped to be able to use them year-round.
Our growing season, which is naturally from June or July until early October, is very short. As you can see, we need all the help we can get.
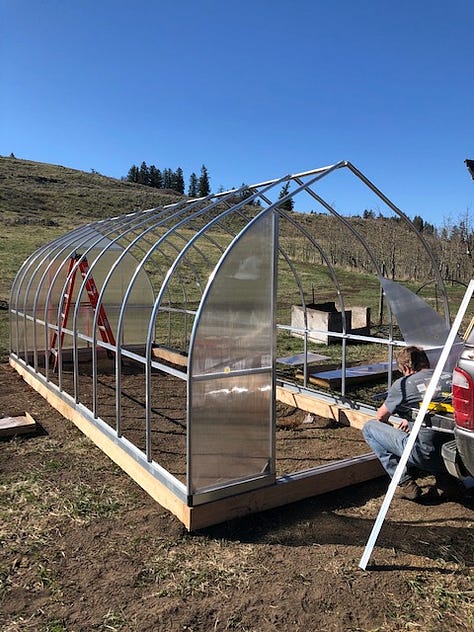
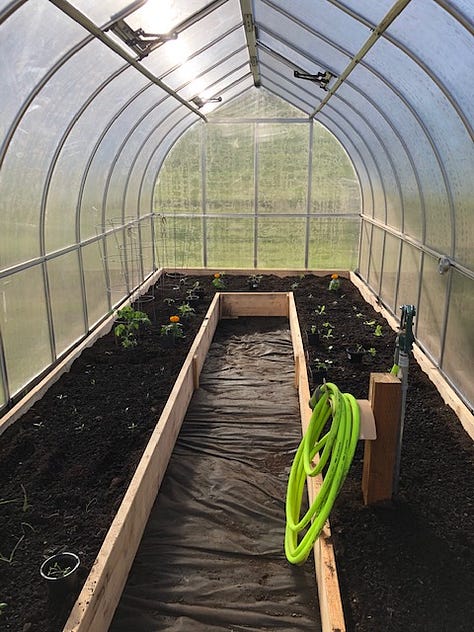
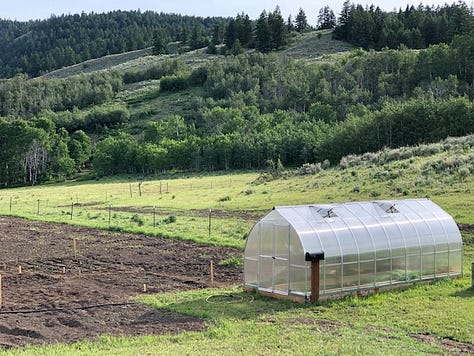

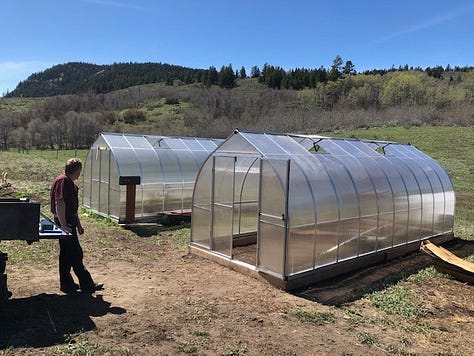
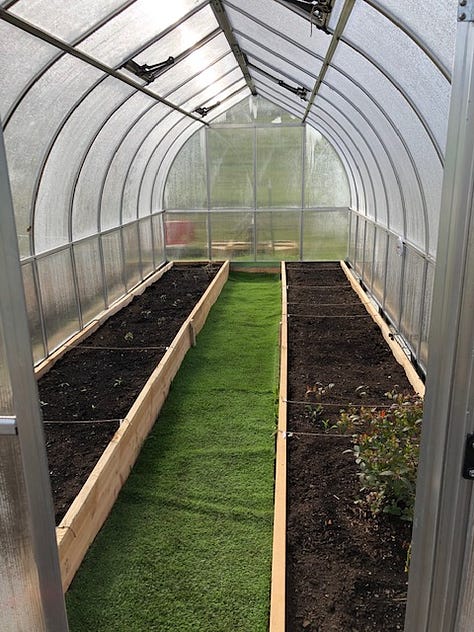
We built raised beds inside each greenhouse which are just over 3’ wide and 1’ deep. The beds in the second greenhouse are lined with hardware cloth to prevent moles from tunneling in. (And, yes, that’s fake grass in the aisleway which is a welcome relief to my knees when I’m down there working!)
We ran water from the house to the first greenhouse in 2020, trenching the water line 4’ deep into rocky soil.
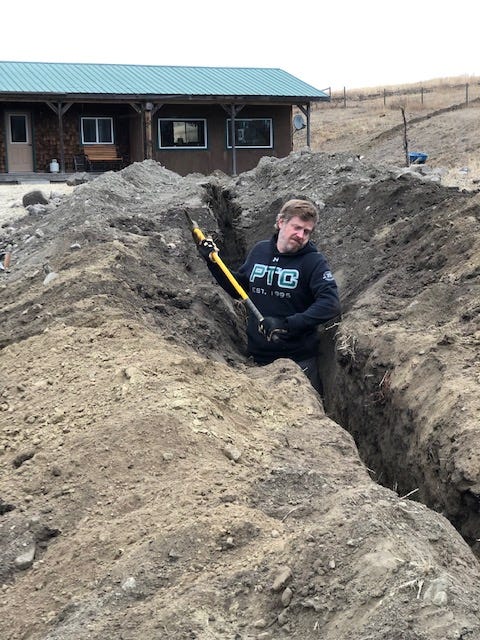
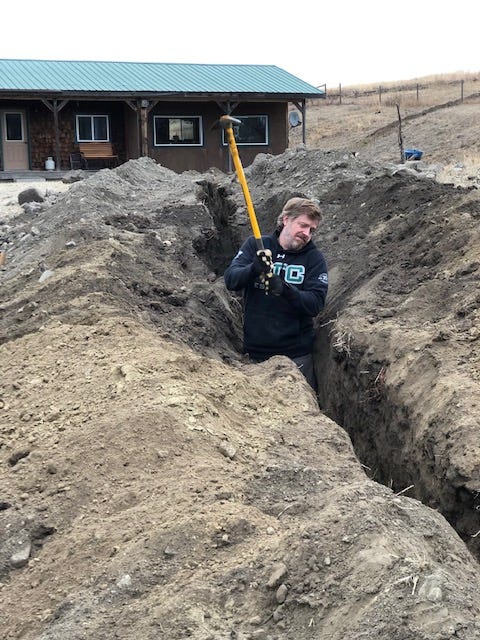


While we use our gravity irrigation line to water during spring and summer, we’d hoped that by running house water to the greenhouses, we’d be able to water plants during winter when any outside line would be frozen.
That was our hope back in early 2020... I mean, how cold can it get, after all?
Well, you can imagine how that worked out.
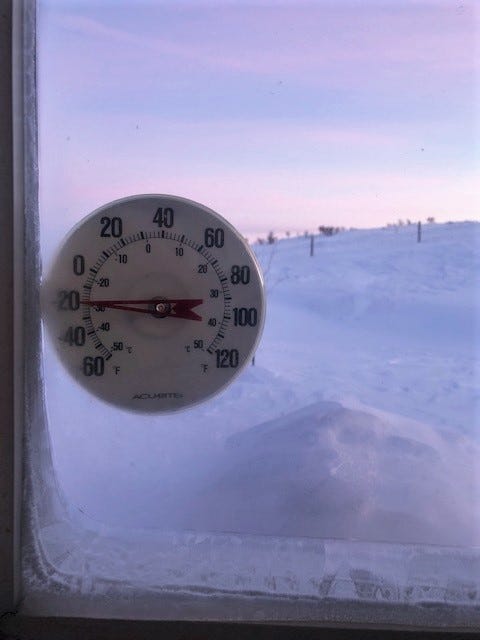
It gets way too cold here in winter to grow anything in a greenhouse (except maybe garlic, which we’re trying this year).
I guess we could heat the greenhouses with a small woodstove or propane, as people often suggest to us, but that seems pretty unrealistic. I mean, we use a lot of wood and propane just to heat us during winter. If heating the greenhouses means slogging back and forth several times a day through 3’ of snow, I’ll go without lettuce for a few months.
I’ve tried other ways to get around our climate challenges: I tried growing spinach, basil, lettuce, and even peppers in the kitchen window. I’ve tried cloches in the greenhouse - even using little Ball jars to protect my seedlings like mini-greenhouses within greenhouses.
None of these ideas met with any success worth repeating.

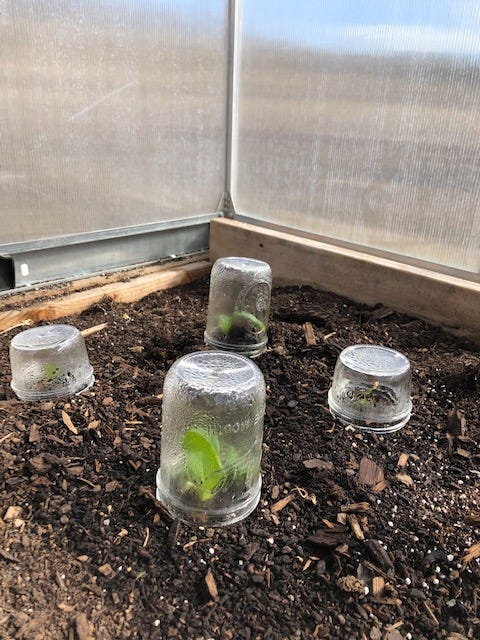


I got a few small starts of green which were quickly wiped out when the weather turned seriously cold. Try as we may, it seems growing outdoors in winter is just not in the cards for us.
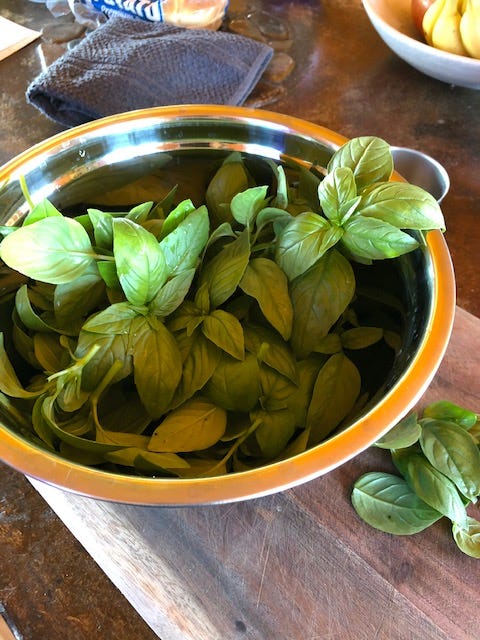
Still, it would be nice to have some fresh greens over the winter months. Perhaps a few strawberries to top my granola, a little mint for the tiramisu, or some fresh basil for our pasta, maybe a microgreen salad…


Food ranks pretty high on our list of priorities and we don’t give up easily so, this year, we’ve built a grow rack.
Let me show you…
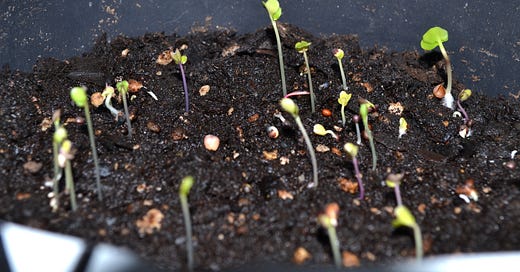
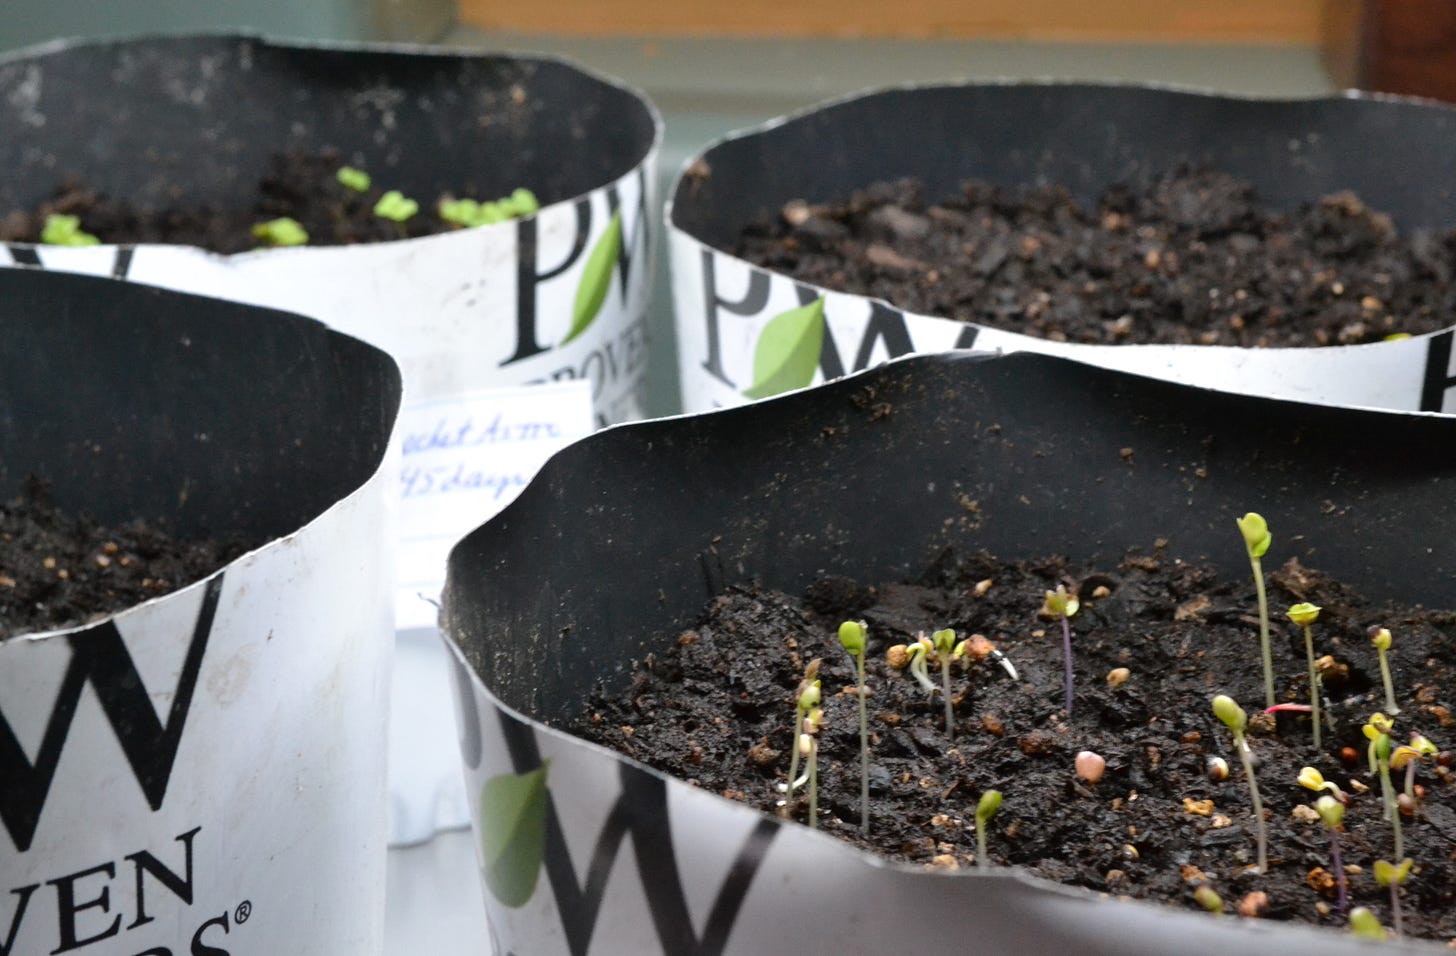
I planted our grow rack on November 2nd with Arugula, Alpine strawberries, microgreens, Bon Vivant blend lettuce, Basil and Cilantro, and Noble and Baby Spinach.
I’m amazed that today, November 6th, we already have sprouts!
We’ve seen some pretty fancy grow racks on the market with prices starting at $3900.
Apparently, these special high-tech grow racks utilize “NASA science” to justify their worth - and maybe they are worth thousands of dollars - but we spent just under $300 on ours and it seems to be working.
I was going to wait to tell you about our rack until it was overflowing with abundant greenery. I realize, though, that some of you might be interested in trying a grow rack of your own and now’s the time of year to do it.
So before you break out your credit card or call to set up a payment plan with NASA scientists, let’s try another way.
NASA, after all, stands for Never A Straight Answer.
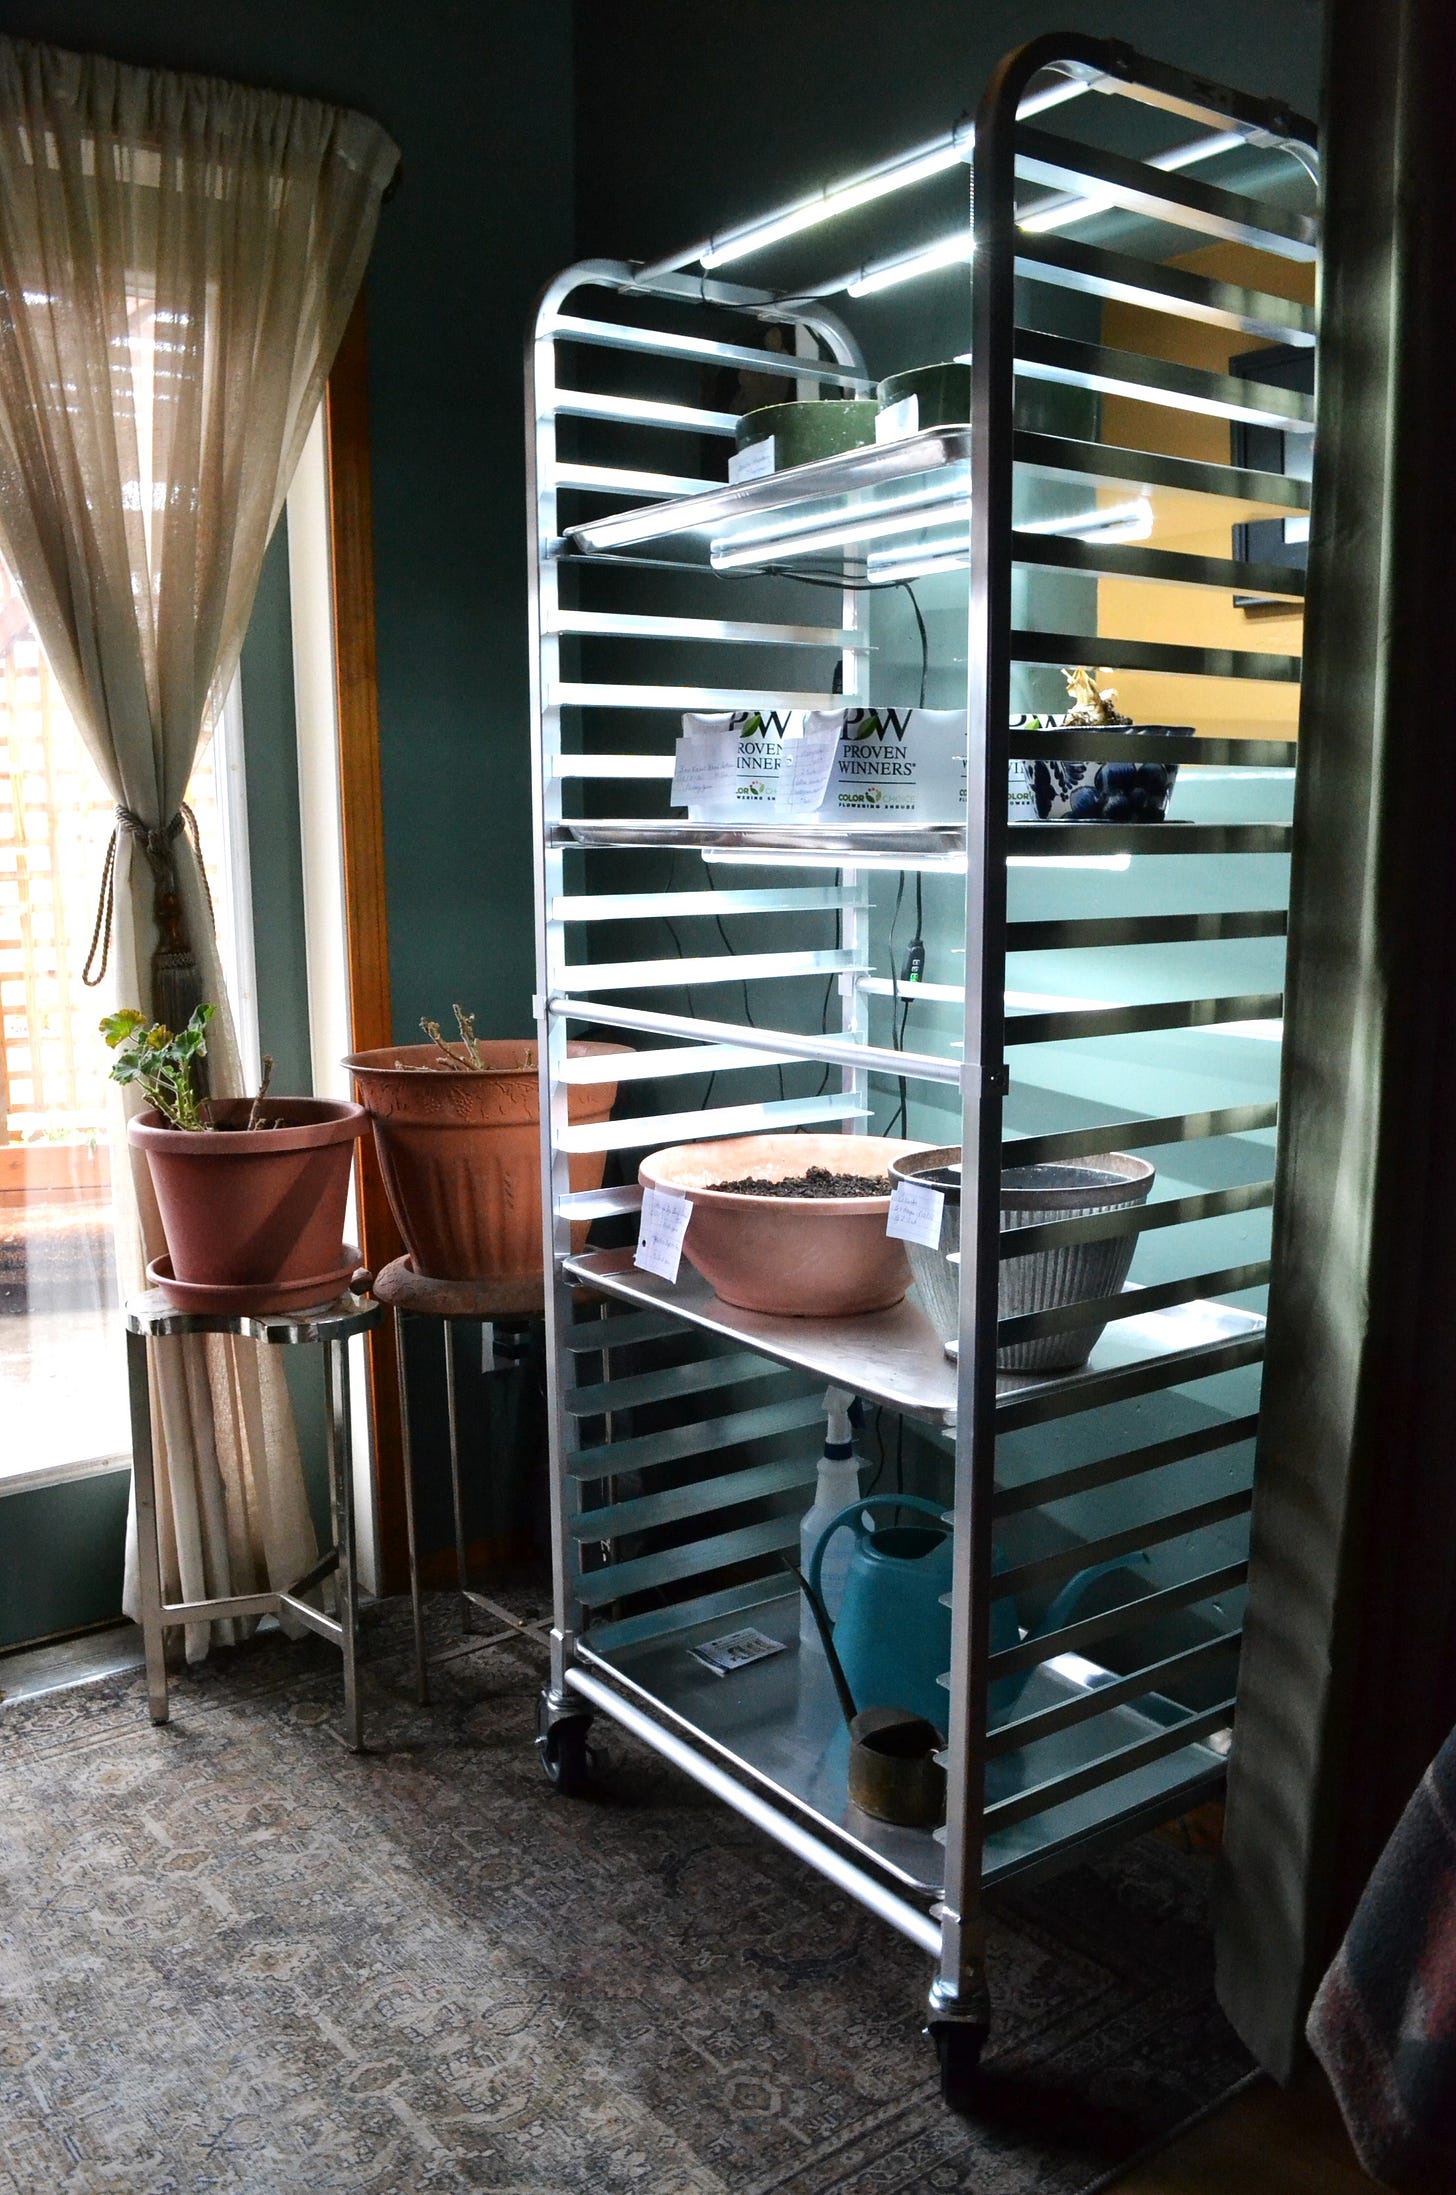
Getting back to earth, we built our grow rack using a simple aluminum bakers’ rack and some LED grow lights John found on Amazon.
We ordered some baker’s trays for the rack, which hold considerable weight, and I’m using trimmed down recycled plastic pots to grow my plants.
We attached LED light strips to the top of the rack and the bottom of the trays. We can move the trays up or down as needed so they are closer or farther away from the light source above them.
We opted for a rack that allows the trays to slide out from the long end for better access to the plants (some racks slide from the short end).
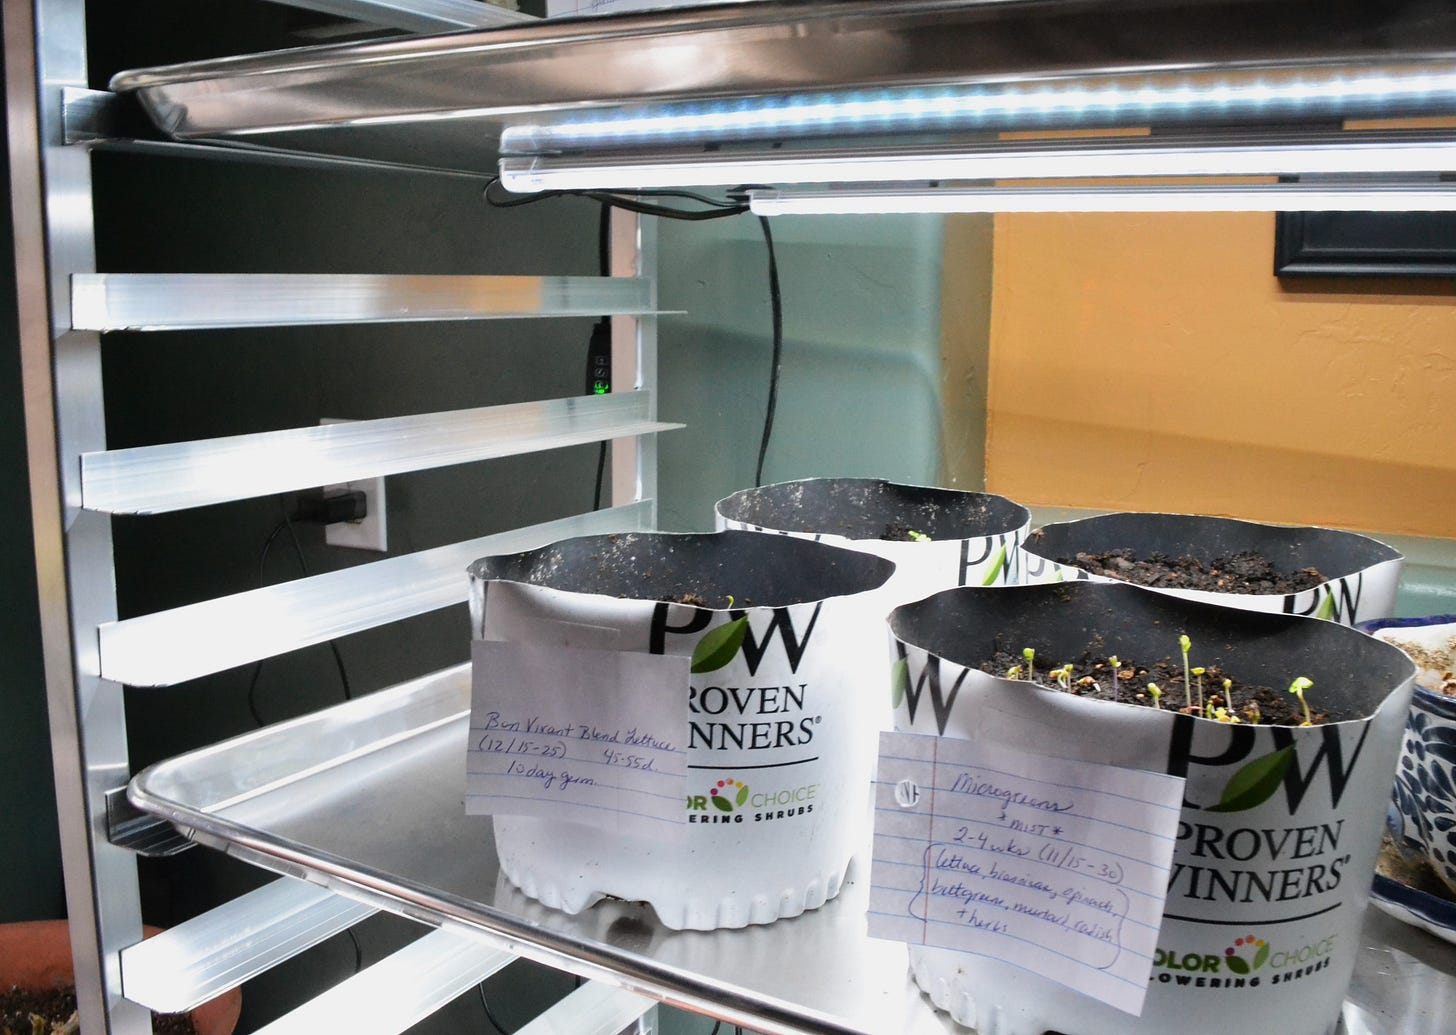
Here’s a closer look at the lights and light switch. The lights can be set for 3/9/12 hours and come on every day at the same time; the lights also have three intensity settings.
We bought 4 sets of lights for less than $50. Currently, I have them set for 9 hours a day. Because they are LEDs, they use very little energy.


Unlike the $3900 grow racks, our rack is not self-watering nor does it come with little fans attached to the sides. Meanwhile, we’re here and I can water myself. We can also set up a fan nearby once the seedlings get tall enough to benefit (a bit of air movement encourages stronger stalks).
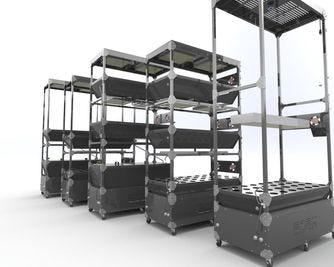
Here’s another look at the expensive rack from someone’s online account. The plants seem to be grown in some sort of bag system which holds tiny pods… I’m not sure, I’ve never seen one of these in person.
I’m sure we’ll continue to tweak our system as the season progresses. Our rack is nothing fancy, but effective matters more than fancy and, like I said, it’s working.
There’s no end to the debates about how to grow food: hydroponics vs. hügelkultur; hand-watering vs. drip irrigation; permaculture vs. whatever…. who cares. If your method is growing food, it’s working.
We’ll post updates on our seedlings and how our $300 grow rack is working for us throughout the winter. If you try something similar, we’d love to hear about it. Leave us a comment below.
And, by the way, all that snow we had just a couple weeks ago is gone! We’re back to autumn, complete with misty fog and full-on rainstorms.
It’s my favorite season.
Of course, not everyone is as happy as I am that the snow is gone…
I guess it’s back to chopping wood for John. :-)








foontastic post thanks.....do you put the foam pads
in your dungarees? few are equipped but its whorth it...
they cant be too loose fitting or the whole thing misses,
but too the tough knees do not need them (!) after a while...
i was cleaning and my knees got so calloused, it was kinda fun
and a bit fight club ugly....best from OR